Digital ADHD Teacher Planner walkthrough
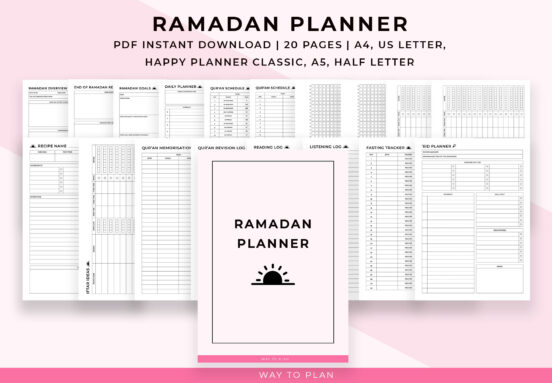
Hi, this is Jacob from WaytoPlan on Etsy and I’m here to guide you through our Digital ADHD Teacher Planner. This planner is specifically designed for teachers with ADHD, but it can be of great use to any teacher. For you as a teacher with ADHD, organization and time management are probably two of the […]
Hi, this is Jacob from WaytoPlan on Etsy and I’m here to guide you through our Digital ADHD Teacher Planner. This planner is specifically designed for teachers with ADHD, but it can be of great use to any teacher. For you as a teacher with ADHD, organization and time management are probably two of the most difficult things you’re dealing with. We have created this planner to help you manage these difficulties within your profession. This comprehensive teacher planner will help you organize and plan all of your teacher affairs, from creating lesson plans to planning out your days, this teacher planner has everything you need. The layout of this planner is very simple and straightforward so you’ll not feel overwhelmed.
When you open the planner, you’ll first see the cover page

From here you can navigate to the index of the planner by tapping the index link on the top left.
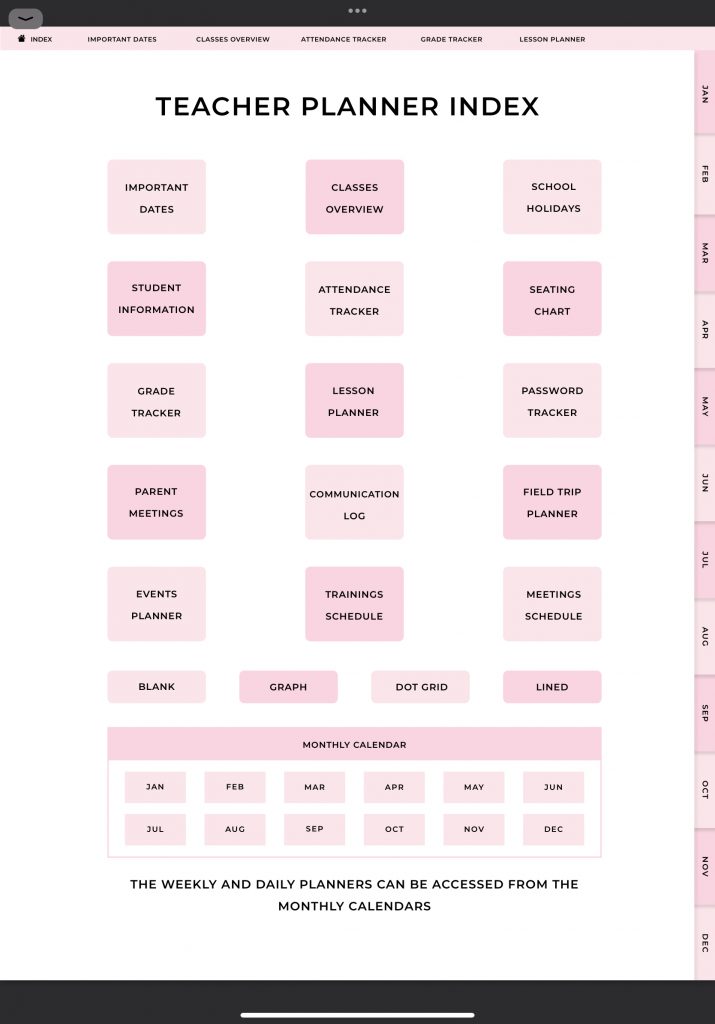
On the index page you can see all the different sections that are available in this planner. Every section is hyperlinked for easy navigation.

In this teacher planner you’ll find general planner pages as well as monthly, weekly, and daily planners. I will first give you a quick overview of the general planners. After that, I’ll show you the monthly, weekly, and daily planners.
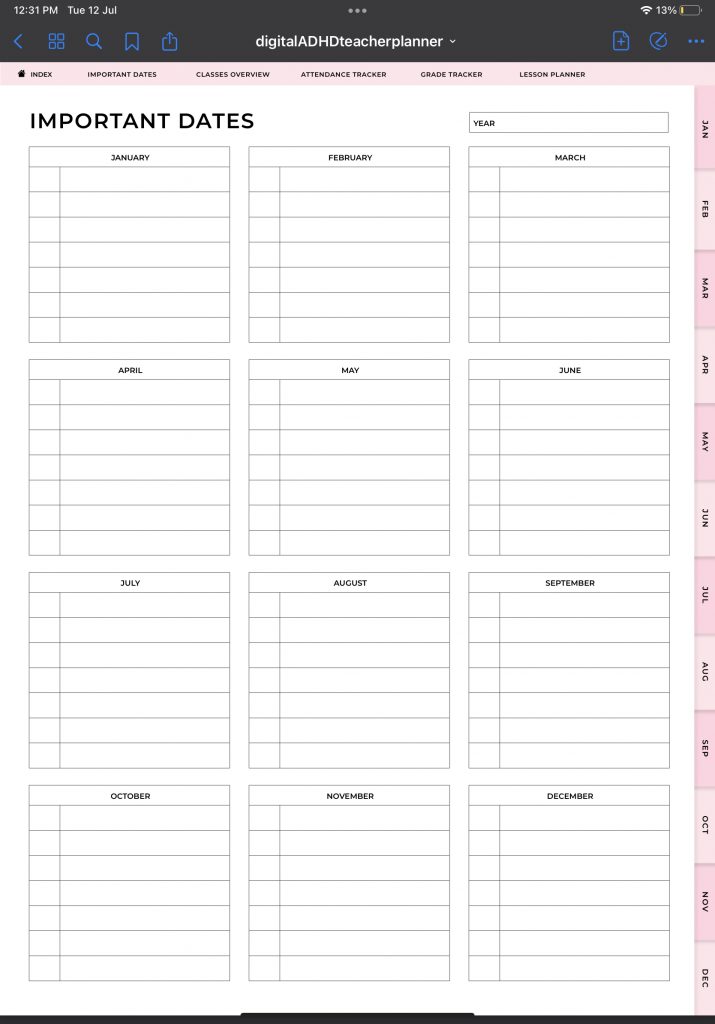
There are 15 general planners that will cover all of your teacher affairs. First we have the important dates. On this page you can write down all of the important dates of the school year.
To go to the next section, you first have to go to the index by using the index button on the top left.
Let’s go to the classes overview next. Here you can write down all of your classes of your week. This way you’ll have an overview of all of your classes throughout the year. There’s only one page of the classes overview in this planner, but you can make as many copies as you need. Currently, I use the teacher planner on Goodnotes and to duplicate this page, I first tap the icon with four squares at the top left. You’ll get an overview of all of the pages within the planner.
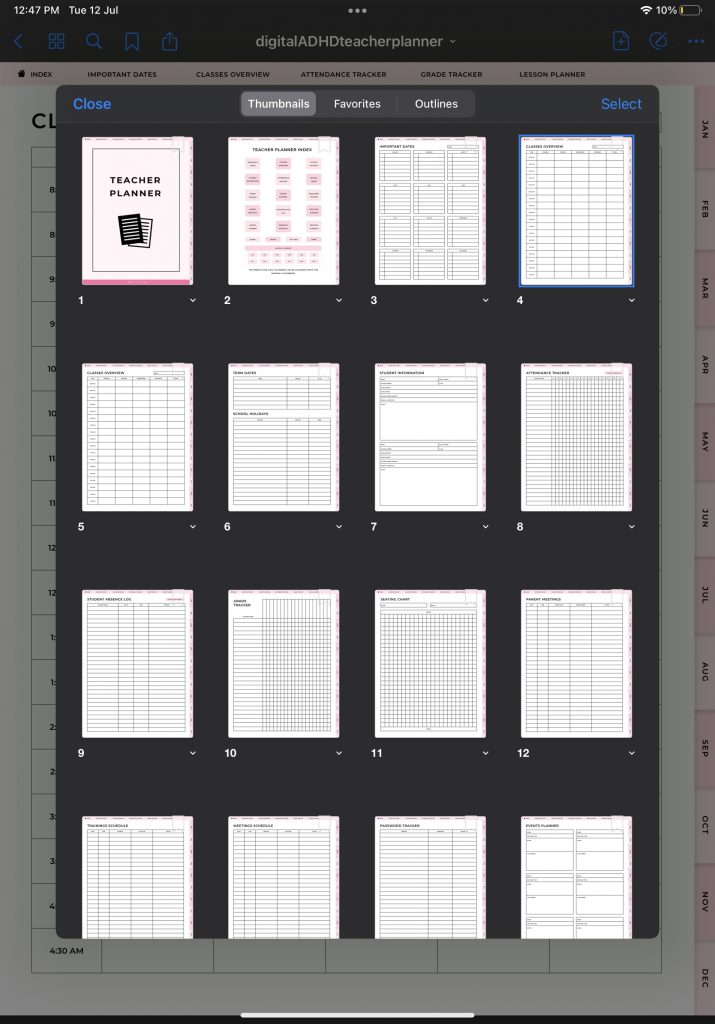
The page that you’re on will be highlighted in blue. Below that page you can see a small white arrow that you can tap to see more options.
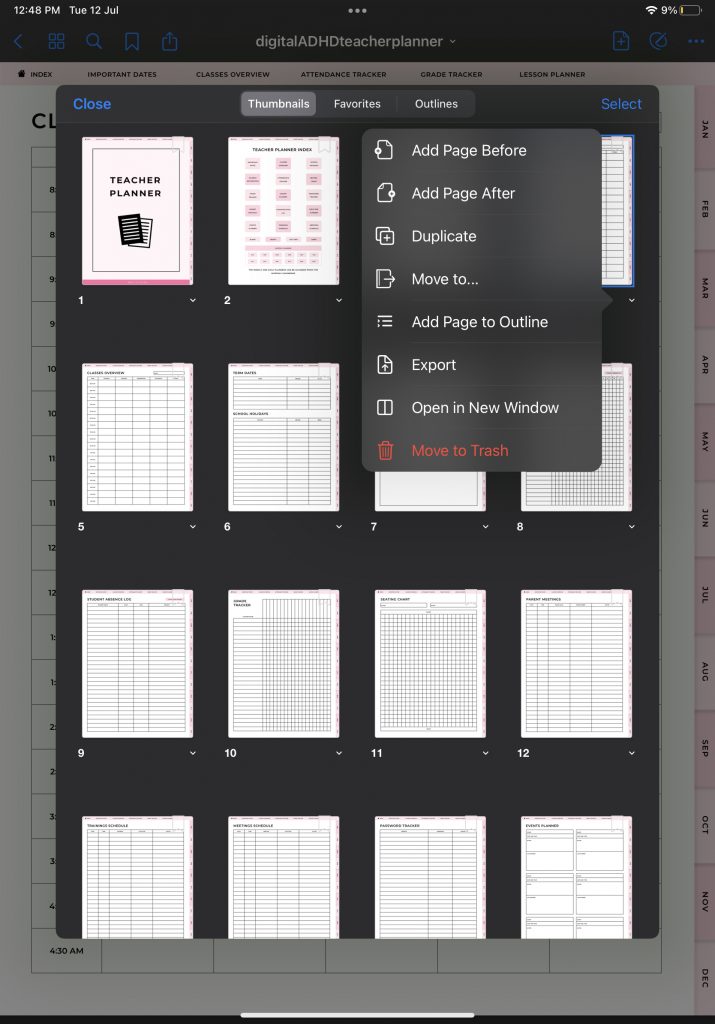
One of these options is “duplicate”. Tap it to make a duplicate page, in this case another page for a classes overview.
Next, we have the school holidays overview.
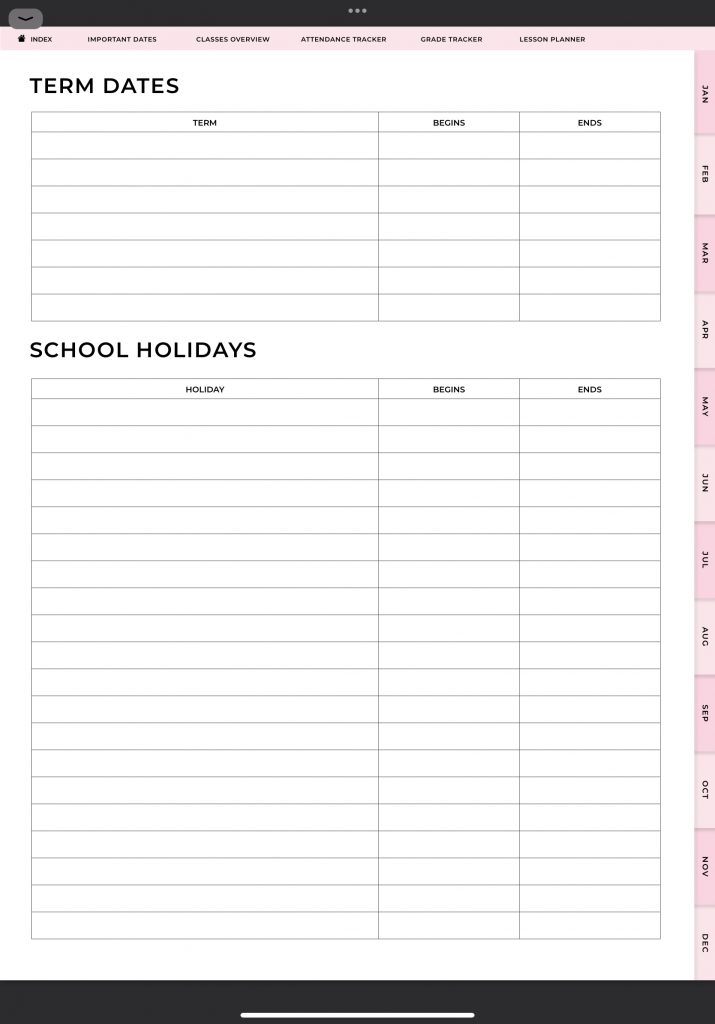
This page consists of two sections: the term dates and the school holidays. Here you can write down when each term and each holiday starts and ends. This way you’ll always have an overview of your term dates and your school holidays.
The next page is the student information sheet.
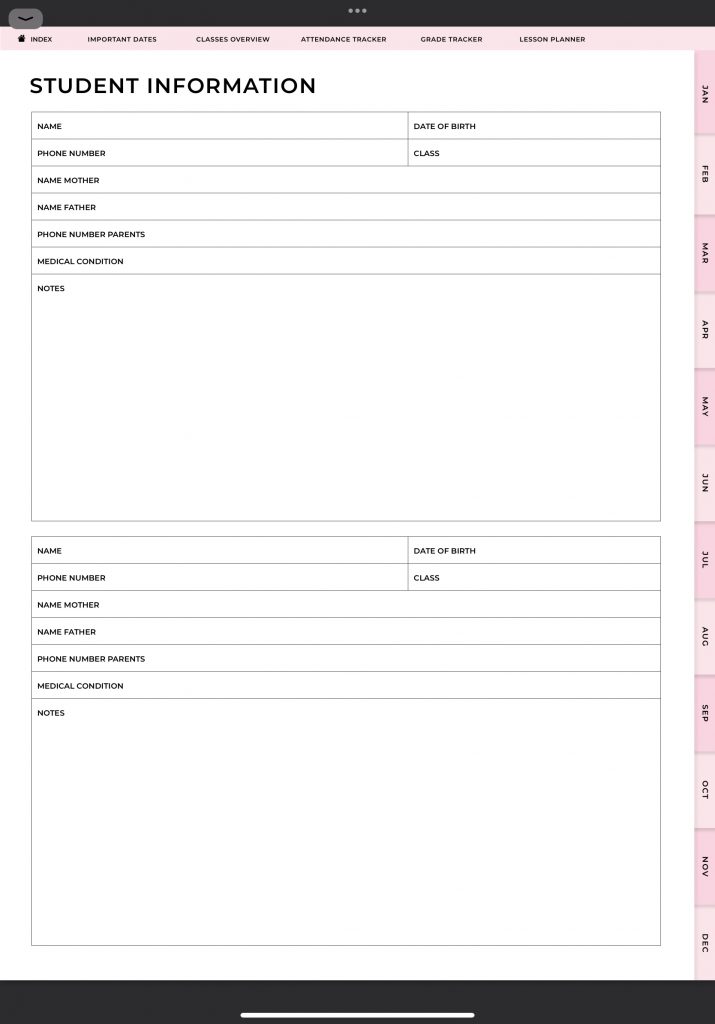
On this page, you’ll be able to write down the necessary information for each student you have, such as the name, the name of the parents, the contact information, their medical condition, and notes you don’t want to forget. Again, you can duplicate this page as many times as you want.
As a teacher, you need to keep track of your student’s attendance. That’s why we have included the attendance tracker in this planner as well.
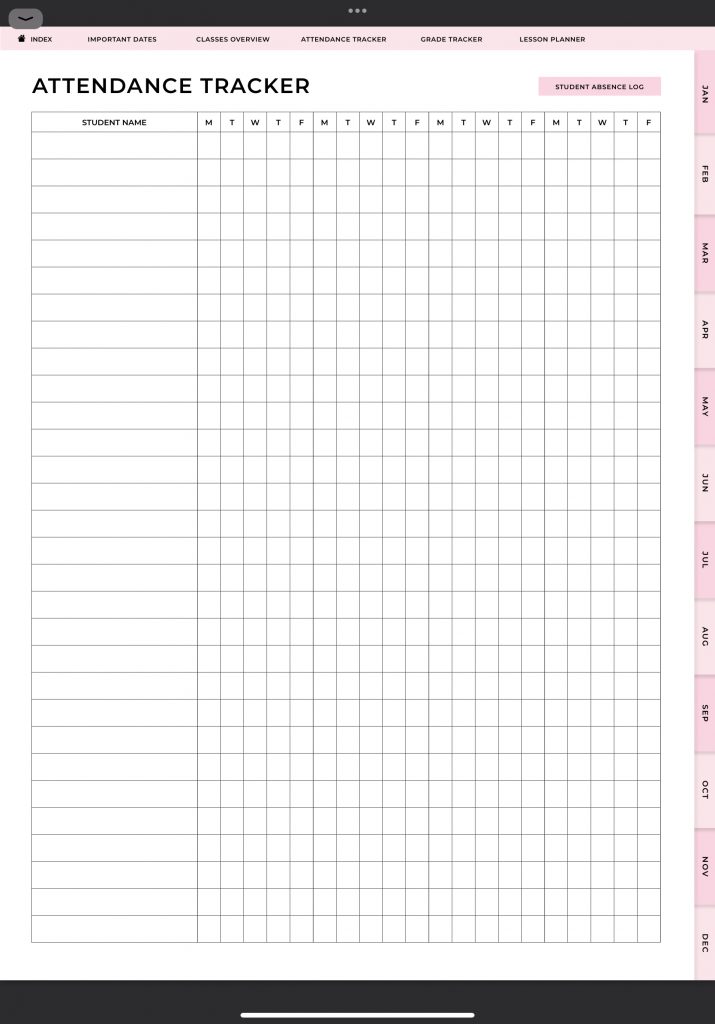
It also comes with a student absence log. You can access this log by using the pink button on the top right of the page.
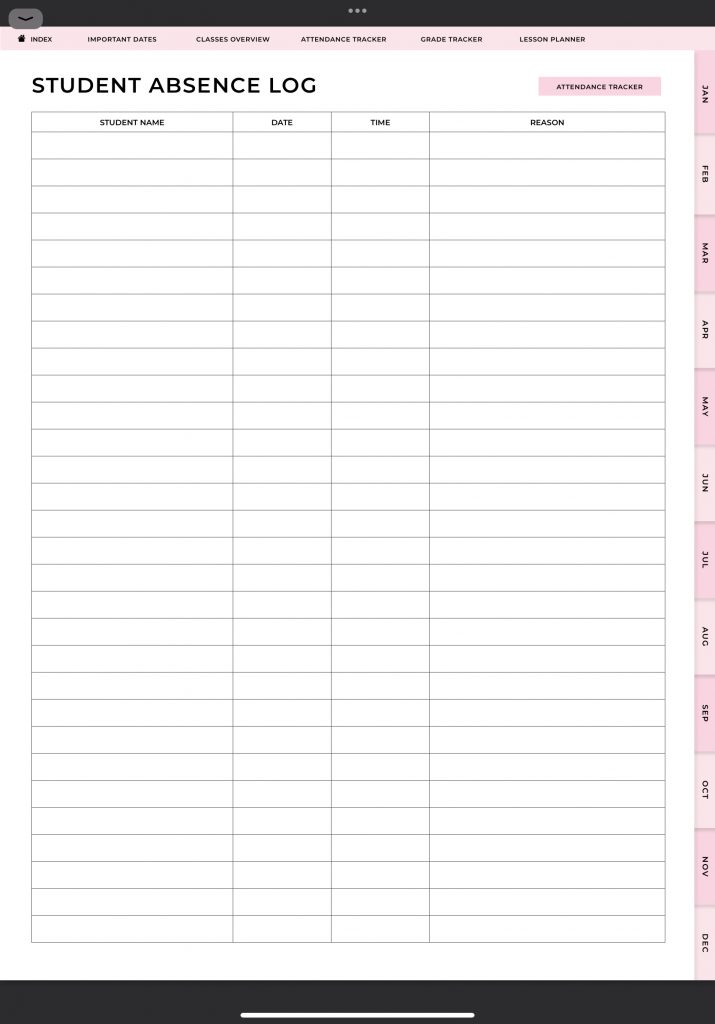
Here you can write down when a student was absent and for what reason they were.
The next page is the seating chart.
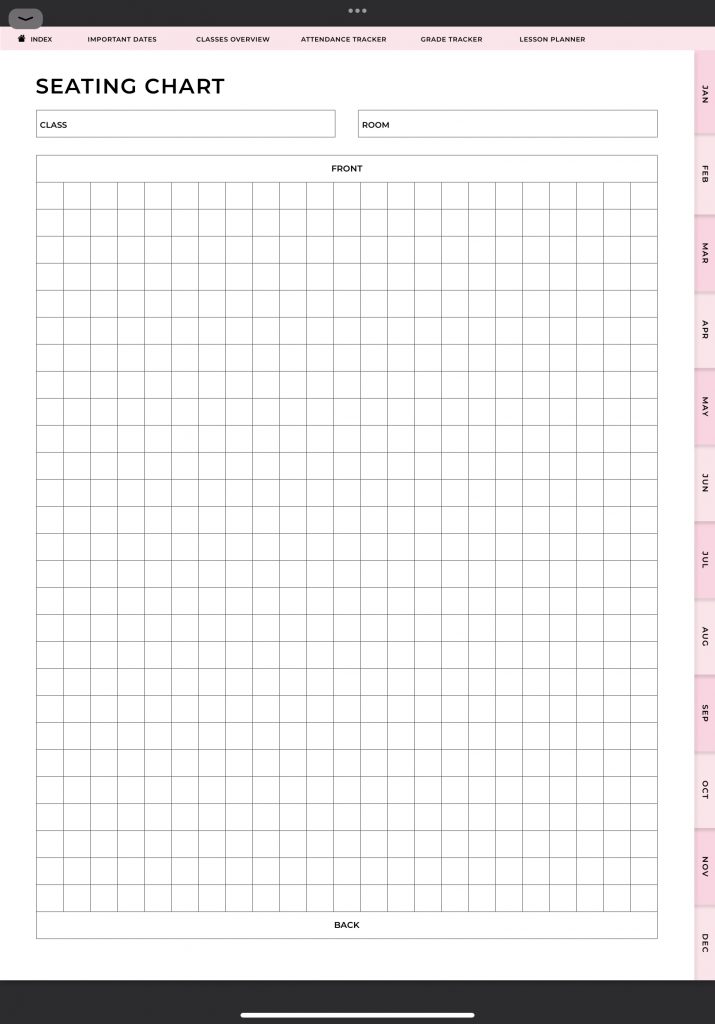
In this empty grid you can create an overview of your classroom. you can draw the tables and write down the students’ names. This chart is an easy way to know where your students should be sitting and it’s also a great tool to memorize the names of your students.
Next, we have the grade tracker that lets you track your students’ grades.
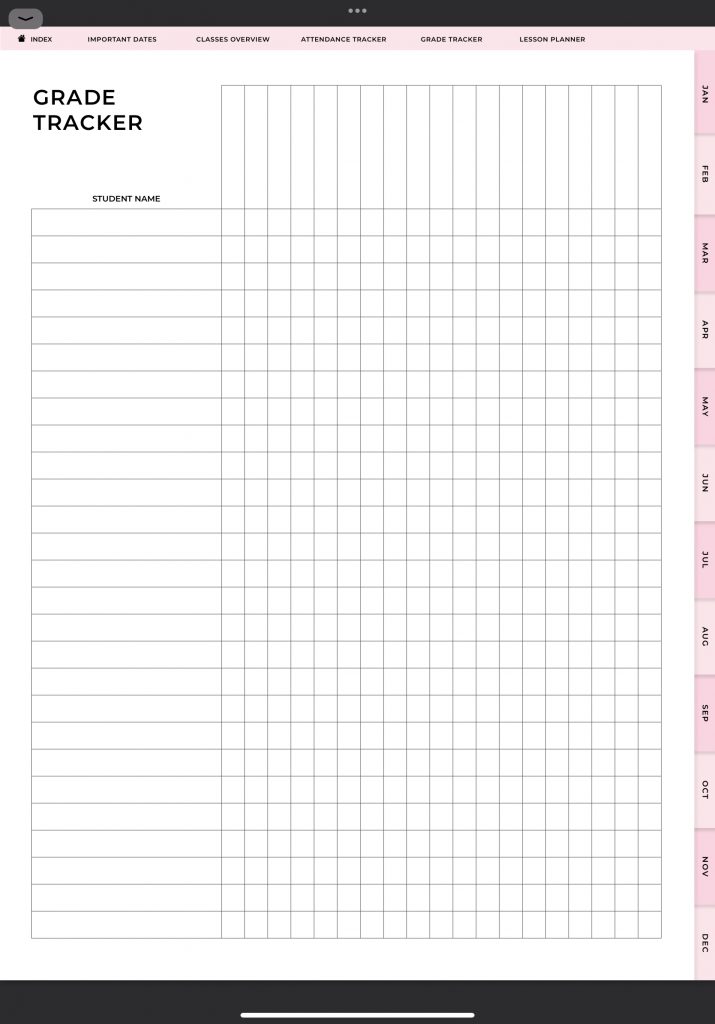
On the left column you can write the names of your students and at the top you can note the different subjects or specific exams.
The lesson planner will help you create solid lesson plans in no time.
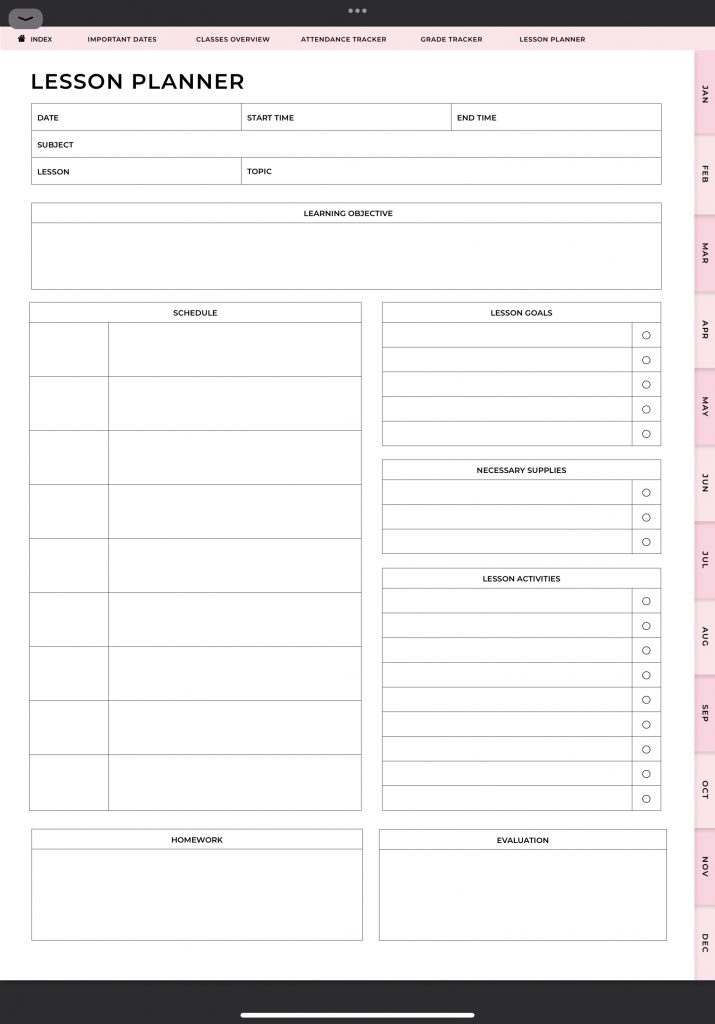
This planner has everything you need to prepare for your lessons. At the top of the lesson planner you can write down general information about the lesson you’re preparing, such as the date, the time, the subject, and the topic. Then you continue by writing down the learning objective, the lesson schedule, the lesson goals, the necessary supplies you need, the lesson activities.

As a teacher, you’ll have many accounts and passwords to track. With this password tracker, you’ll have all of your login credentials in one place.
We have also included a page where you can record the parent meetings you’re going to have.
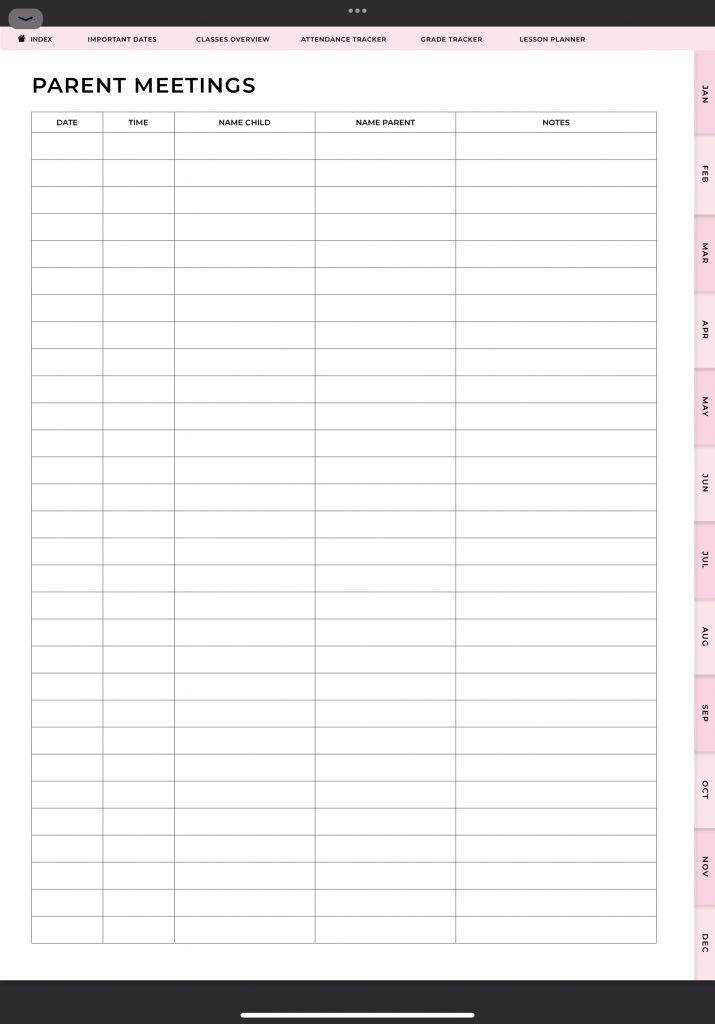
For each meeting you can write down the date, the time, the name of the child, the name of the parent and any notes you have about the meeting. This way you’ll have a nice overview of all of your parent meetings.
Besides the parent meetings, you’ll also have other communications. To keep track of all of your communications as a teacher, we have created the communication log.
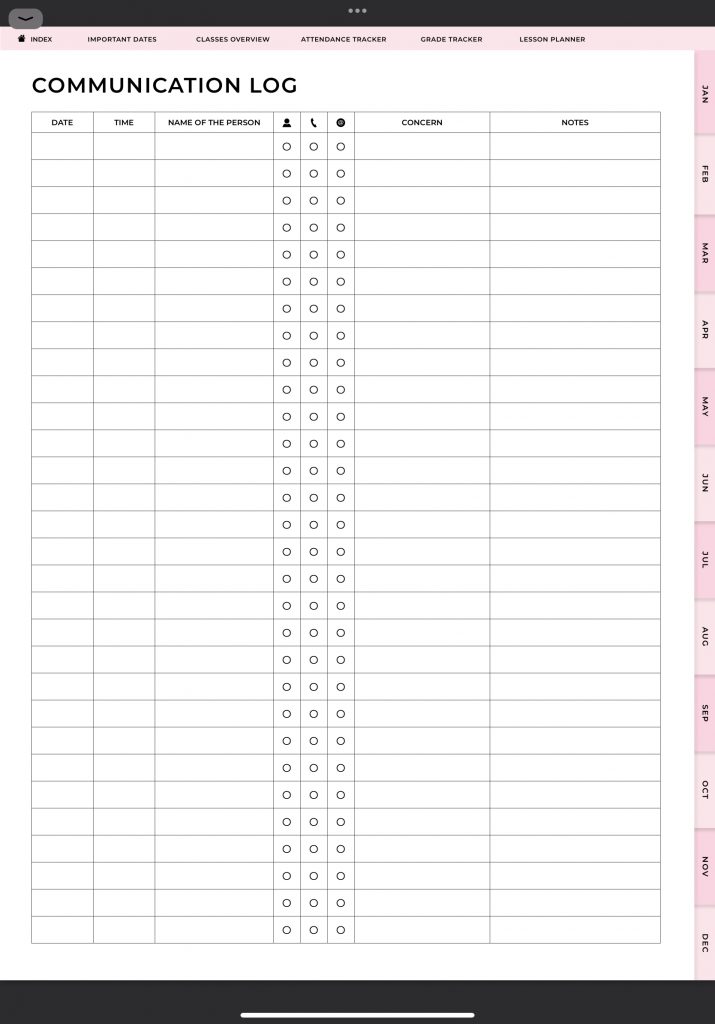
On this page you can note down for each communication that you have the date, the time, the name of the person you’re interacting with, the means of the communication, the concern, and any notes you might have. You can also use the communication log as a reference later on.
Being a teacher, you’ll also have to organize and plan field trips for your students. To help you create these plans, we have included the field trip planner. This planner will make it much easier for you to create fun field trips by guiding you along the way.
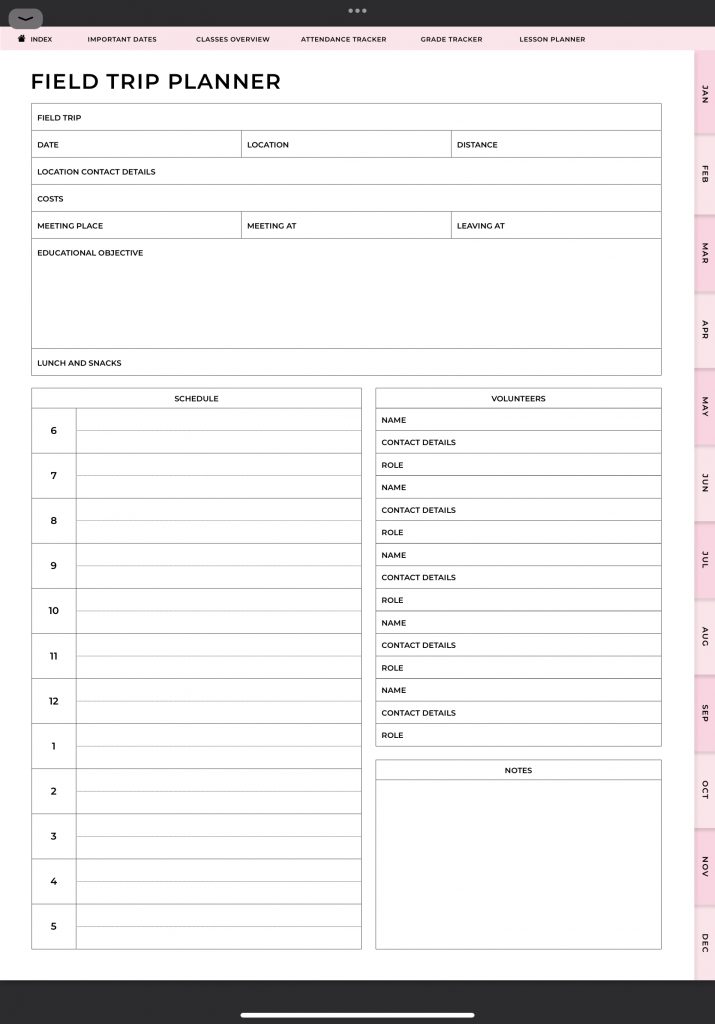
This field trip planner is very straightforward. All you have to do is fill in the boxes. First, you have to fill in general information about the trip such as the date, the location, the contact details of the place you’re going to, the costs, meeting place, meeting time, and so on and so forth.
Then you’ll focus on the trip itself by writing down the educational objective, the time schedule, and the volunteers involved. Once you have filled in all of the boxes, you’ll have a well thought out field trip plan to put in action.
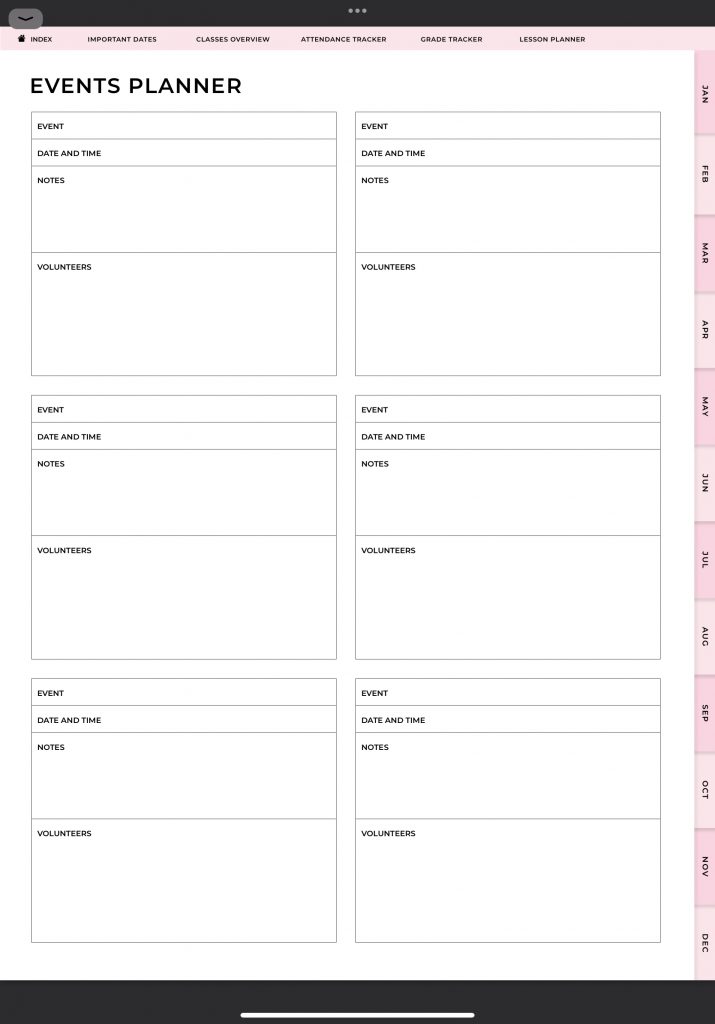
In addition to the field trip planner, we have also included a general events planner where you can keep track of all of your events throughout the school year.
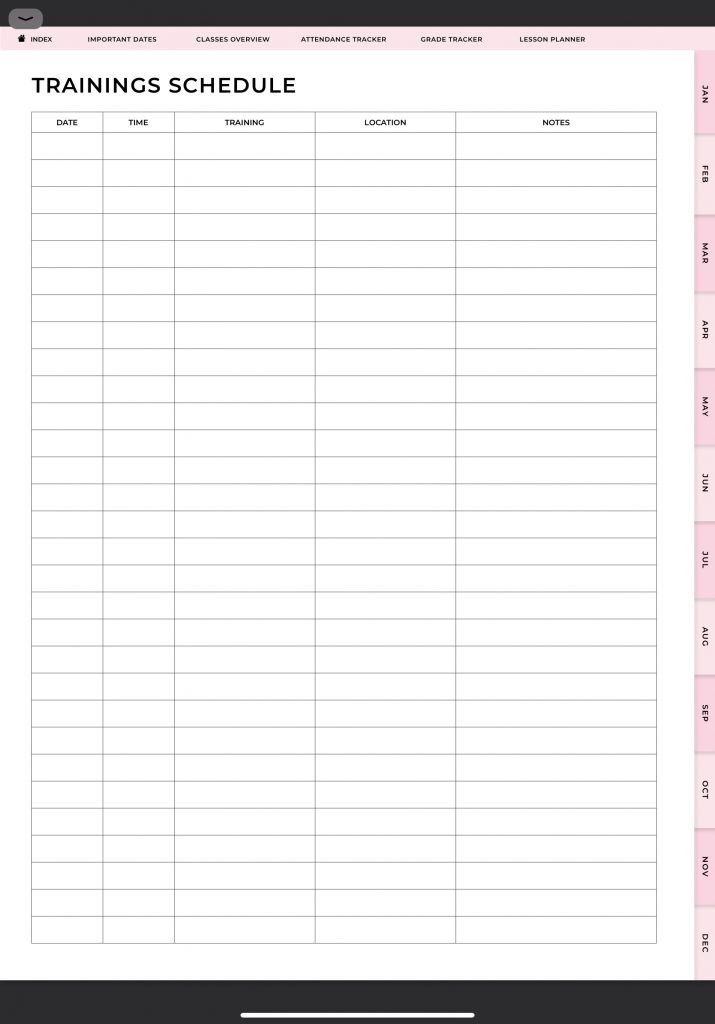
You know that as a teacher it’s important to keep educating and developing yourself. Most teachers are required to follow trainings and/or courses throughout the year. You can keep track of all of your trainings with the training schedule.
The last general planner page I want to show you is the meetings schedule.
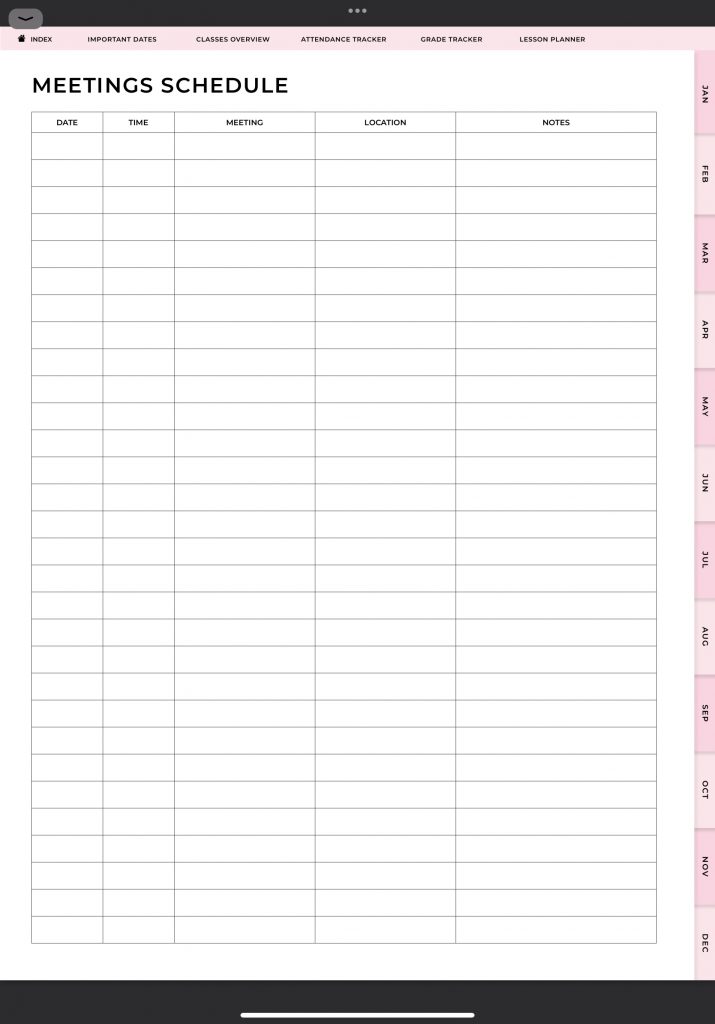
On this page you’ll be able to keep track of all of your meetings.
Now, we’ll move on to the monthly, weekly, and daily planners.
The monthly planners can be accessed in two ways. The first way to access them is through the index of the planner. You’ll find the twelve buttons for the months of the year at the bottom of this page. You can tap the month you’re in to be taken to that month’s monthly planner. The second way to access the monthly planners is through the tabs on the right side of the page. You’ll find these tabs on every page of the planner.
The monthly planner consists of a monthly calendar, a to do list, a list for your monthly goals, and a notes section.
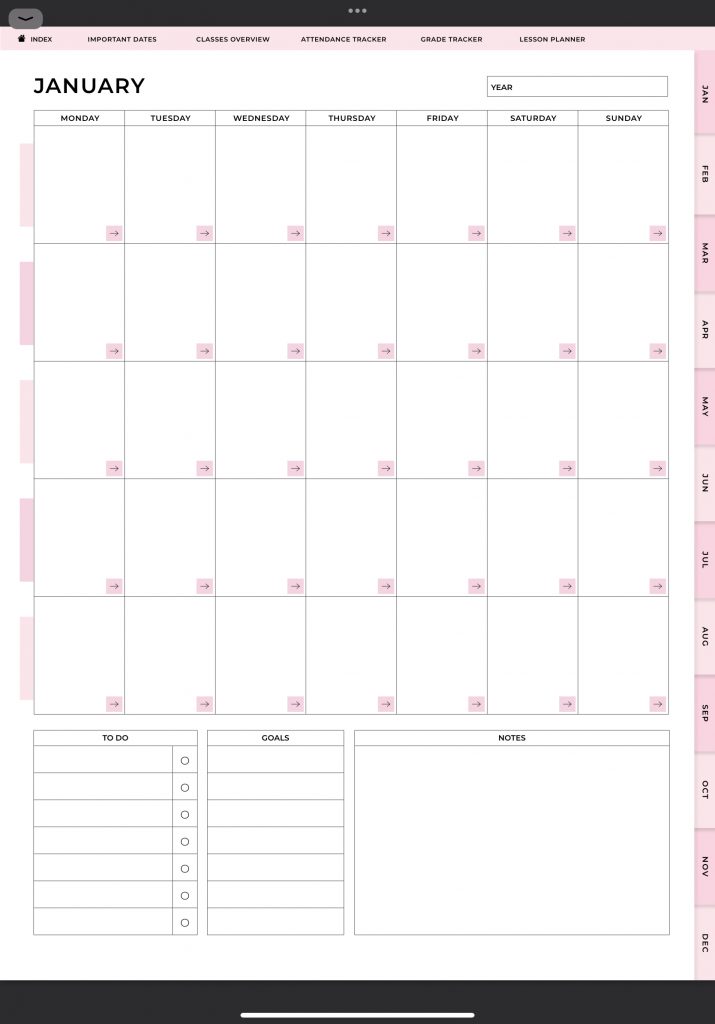
In the monthly calendar you can write down the most important events and reminders for each day of the month. The calendar is undated, so you can use this planner for many years to come. From this monthly calendar you can navigate to the weekly and the daily planners. You can access the weekly planners by tapping the button at the left side of each week. This will take you to that week’s weekly planner.
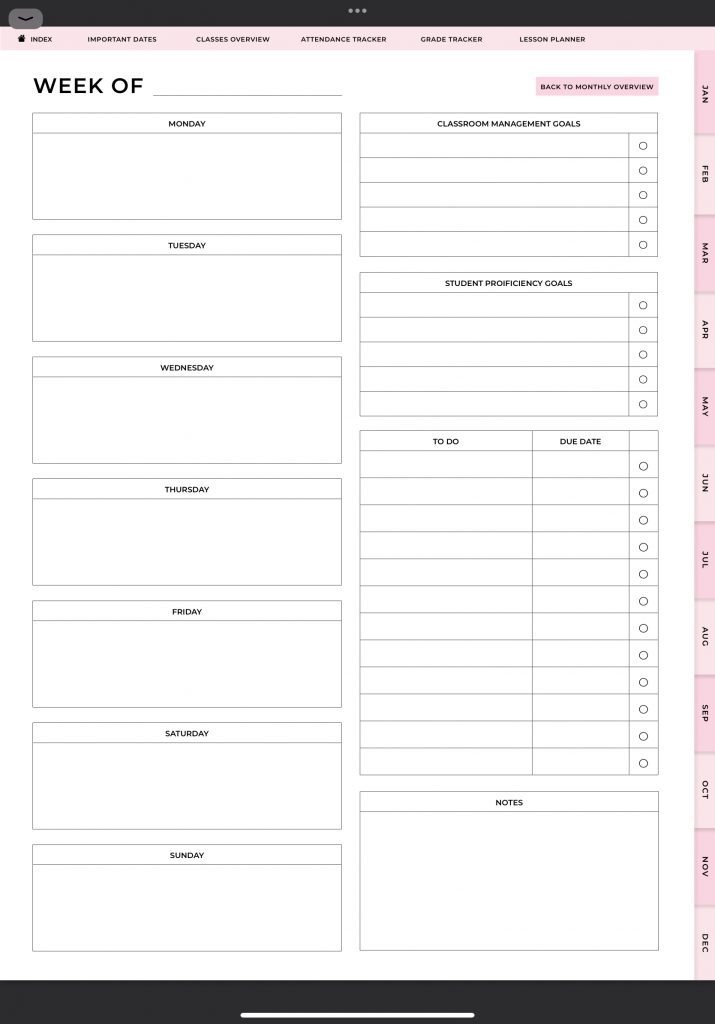
With the weekly planner you can plan your whole week when it comes to teaching. For eah day of the week you can write down reminders, events, and appointments. You can also keep track of your goals with this planner. There are sections where you can write down your classroom management goals and student proficiency goals. You’ll also be able to note your todos for the week together with their due dates.
The daily planners can also be accessed through the monthly planner. Tap the button on the top right to go back to the monthly overview.

Then, on the monthly calendar you can navigate to the daily planner by using the arrow button that you can see at the bottom right corner of each day. By tapping it, you’ll go to that day’s daily planner.
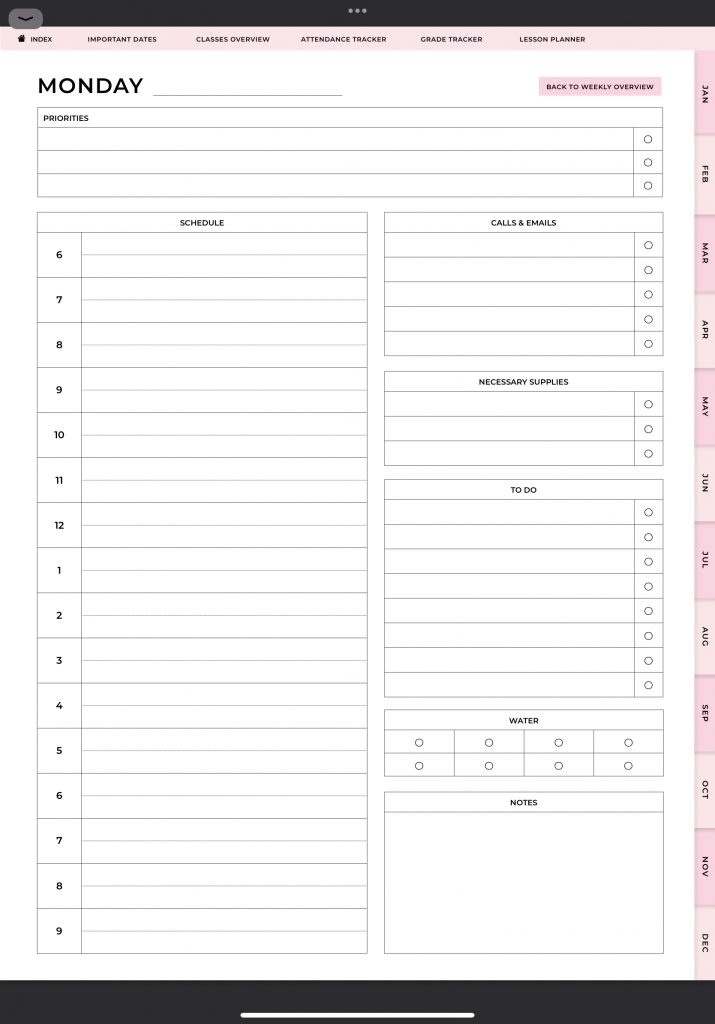
The daily planner consists of different sections that are very useful for you as a teacher. Start planning your day with listing your priorities. Then you can set your daily schedule You can also keep track of your calls and emails, what you need of supplies, your todos, and your water intake. From the daily planner, you can go back to your weekly planner by tapping the button at the top right of the page. If you’d want to navigate back to the monthly planner instead, you can use the tabs on the right side to do so.
As a bonus we have included blank note taking pages in this planner because more often than not, you need some extra space to write notes down.
To access these pages we go back to the index.

Here, you can find the buttons of these pages just above the monthly calendar section. We have included four different note taking pages. The first one is the blank page.

Then there’s the graph note taking page.
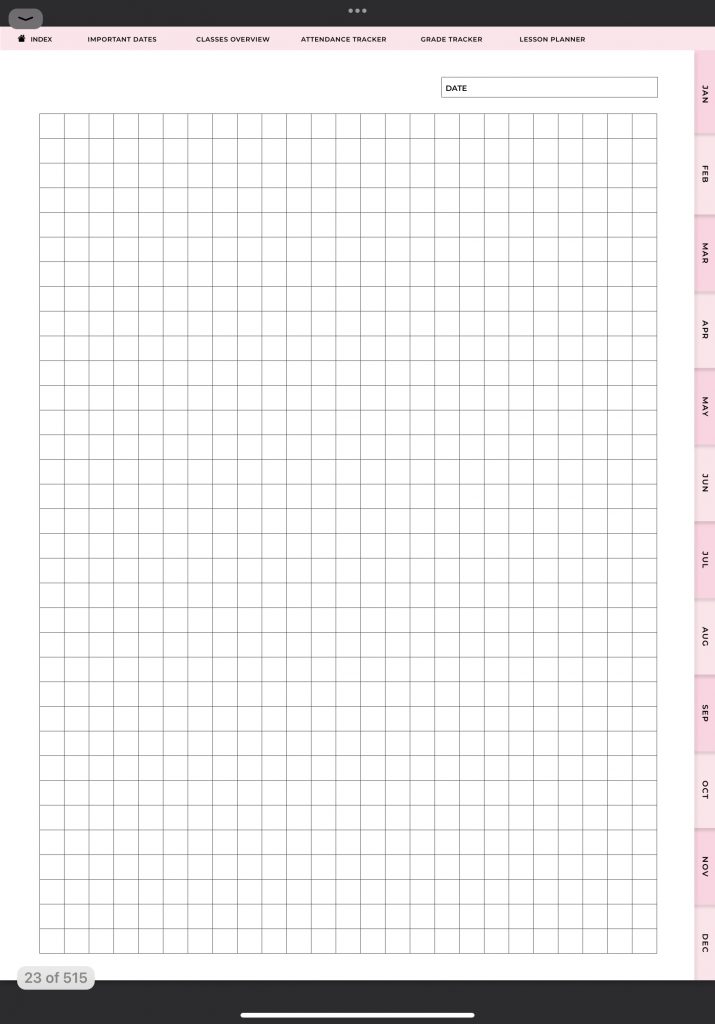
Dot grid
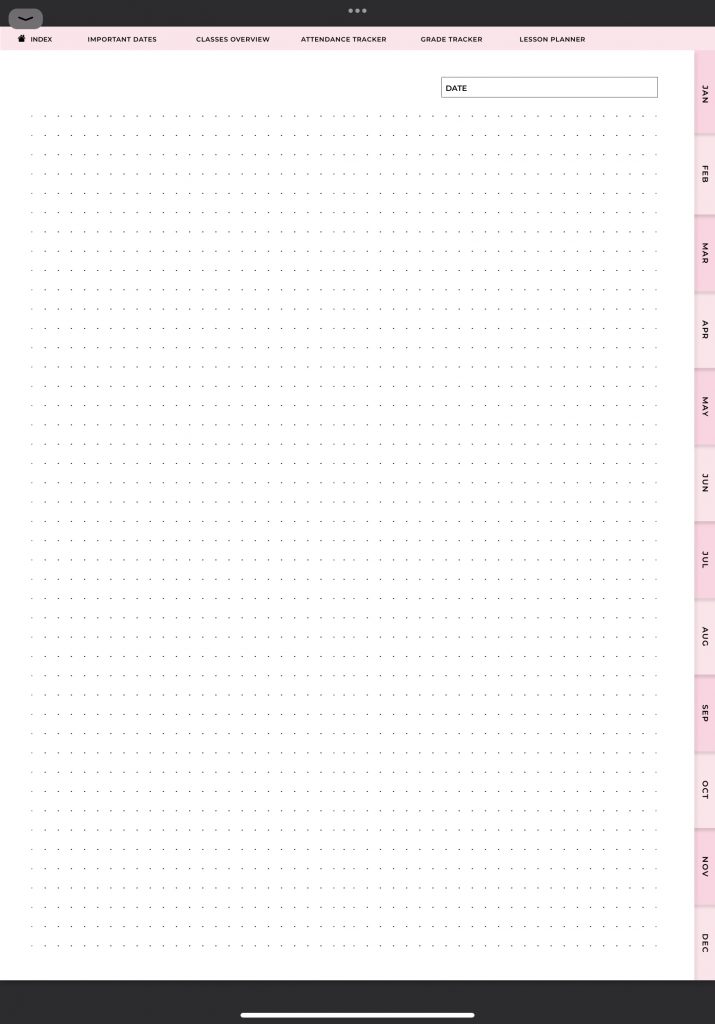
And lined.

You can choose the one that suits you best. Also, you can duplicate these pages as many times as you need.
That’s all there is when it comes to the Digital ADHD Teacher Planner. I hope that it’s clear what’s included in this planner and how you can use it. If you have any questions, please leave a comment or reach out to us on Etsy.
Find the Digital ADHD Teacher Planner here.