Digital Meal Planner for GoodNotes walkthrough
Hi, this is Jacob from WaytoPlan on Etsy and I’m here to guide you through our Digital Meal Planner. Organizing your weekly meals an be a struggle, but this meal planner will make this much easier for you by guiding you through the process. It will help you organize your meals, your groceries, and your […]
Hi, this is Jacob from WaytoPlan on Etsy and I’m here to guide you through our Digital Meal Planner. Organizing your weekly meals an be a struggle, but this meal planner will make this much easier for you by guiding you through the process. It will help you organize your meals, your groceries, and your kitchen inventory without making you feel overwhelmed. By doing so, you will be able to eat healthier meals while also saving money at the same time. I’ll now show you what’s inside the meal planner.
When you first open the meal planner, you’ll see this cover page.
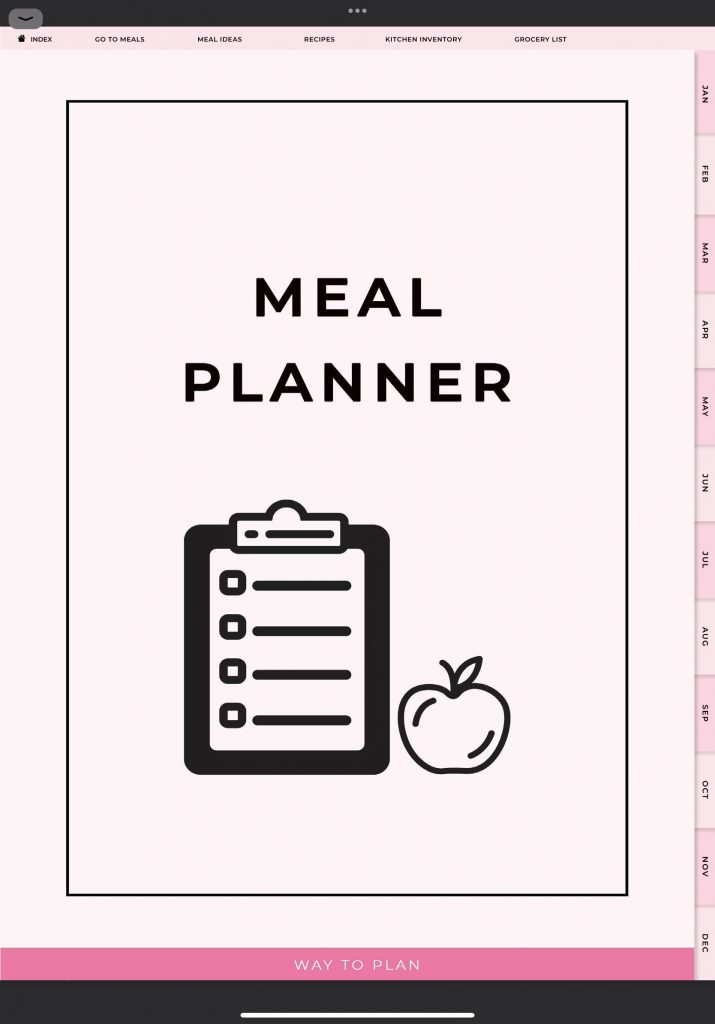
To go to the index page of the planner tap the button at the top left of the page.

This meal planner consists of monthly, weekly, and daily meal planners. It also comes with five general planner pages.
The first general planner is the go to meals page. To access this planner page you can tap the go to meals button on the index page.
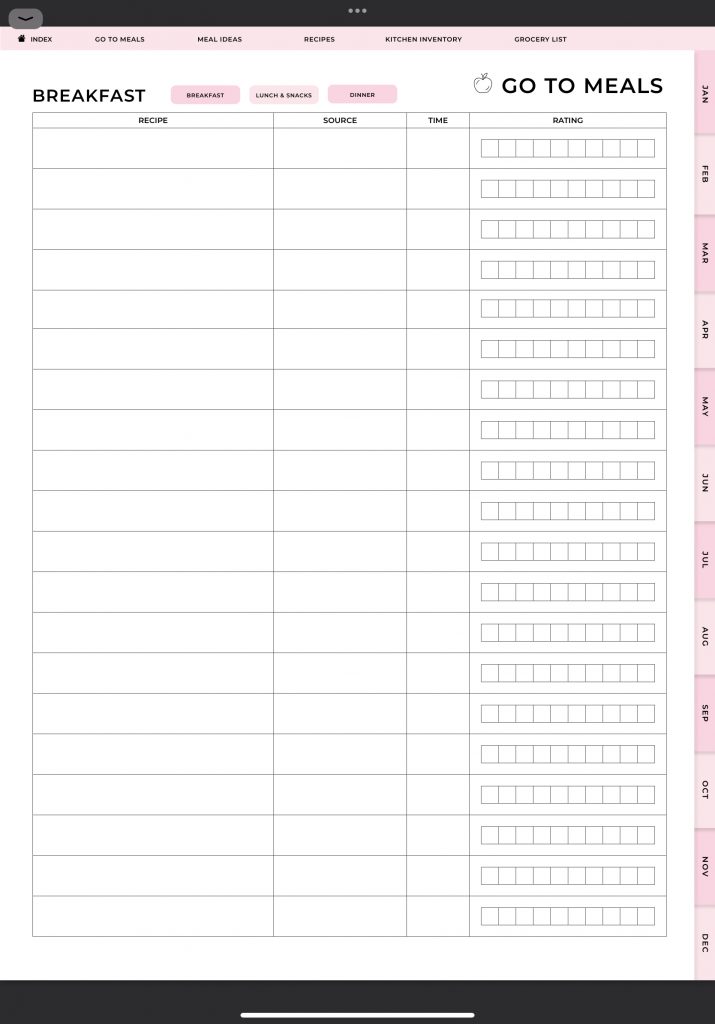
Here you can list all of your go to meals, so the meals that you prepare regularly or meals that your family really likes. The go to meals planner consists of four sections. You can list your go to breakfasts, your lunches and snacks
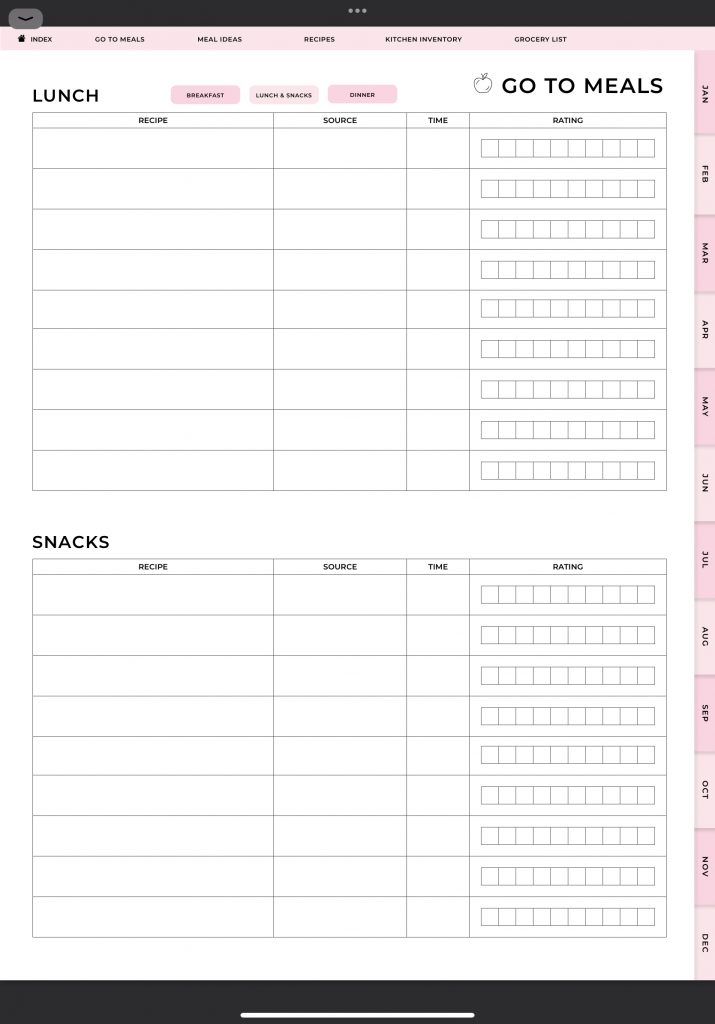
And your go to dinners.
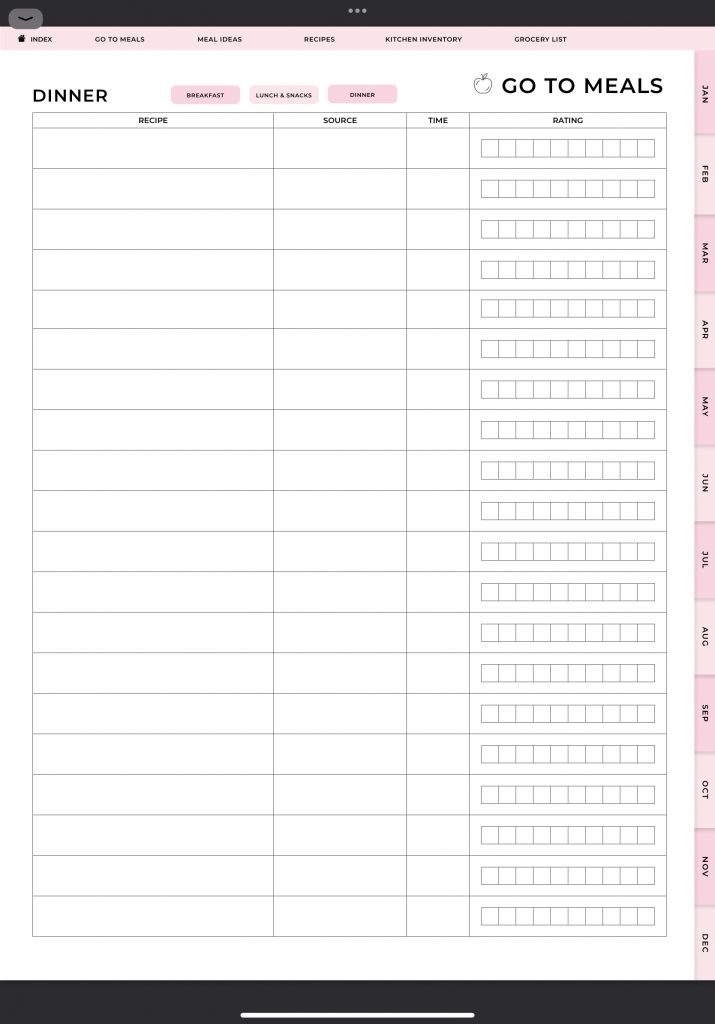
For each meal you can add the recipe name, the source, the preparation time, and the rating for the mail. Then, every time that you make a dish that is well received, you can add it to your go to meals lists. By keeping lists for your go to meals you’ll be sure that it will be a lot easier later on to plan your weekly meals. Instead of starting from scratch every time you plan your meals, you can pull some ideas off of your go to meals.
The next planner we’re going to look at is the meal ideas page.
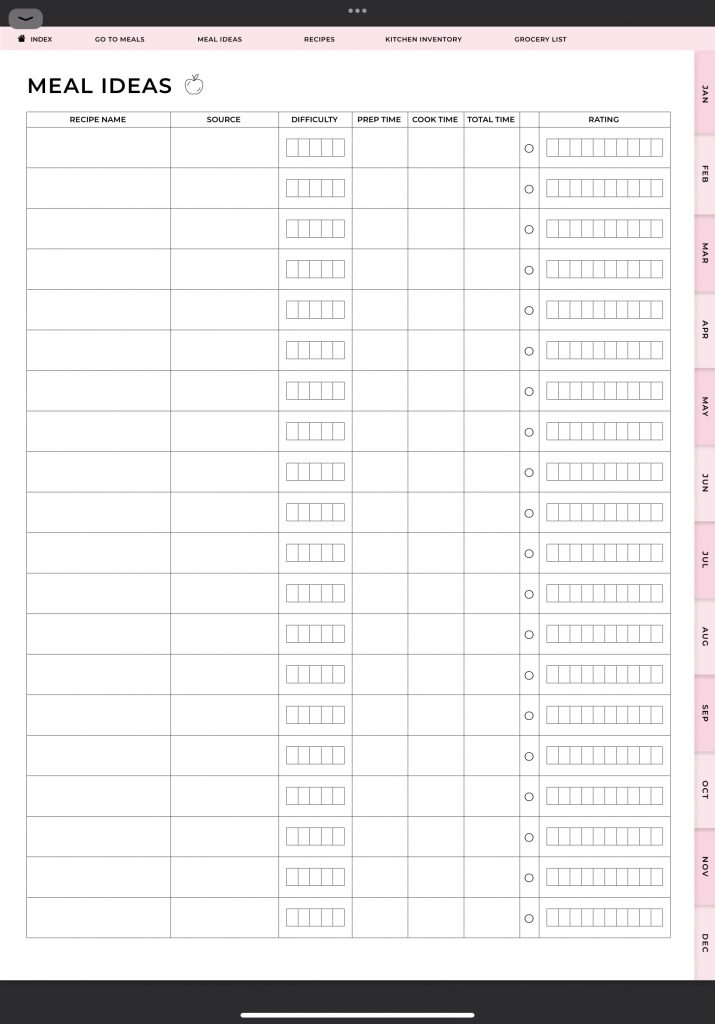
Here you can write down meals that you’ve come across that you want to try out later on. This way you won’t have to worry about these ideas getting lost.
You can use the recipe organizer to keep track of your favorite recipes.
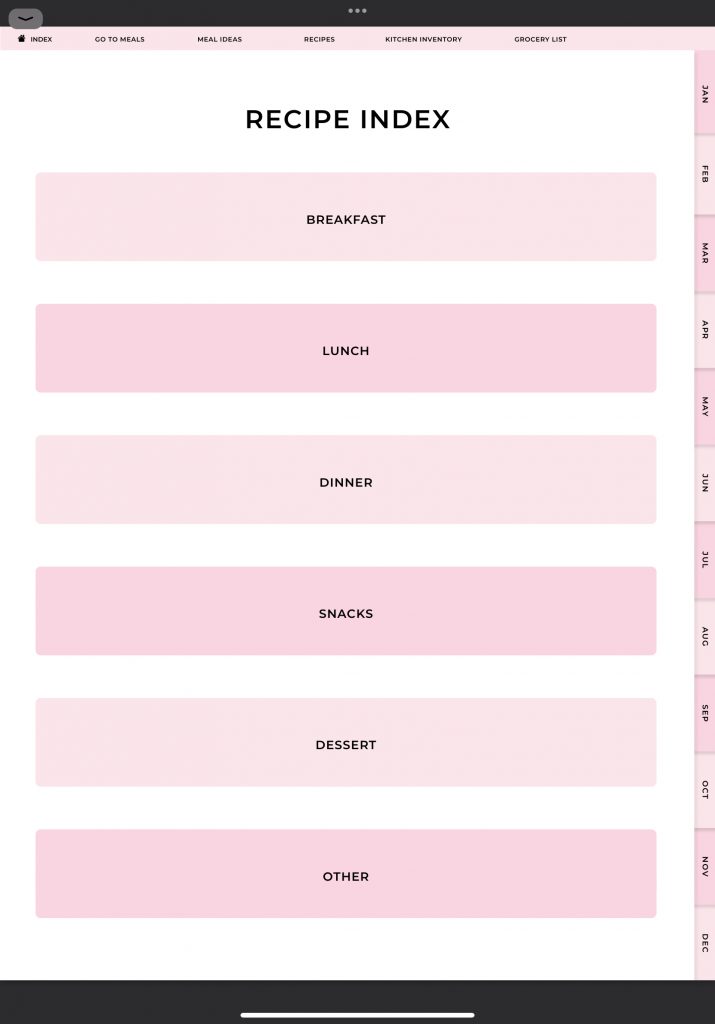
The recipes are divided in the following sections: breakfast, lunch, dinner, snacks, dessert, and other.
When you go to one of these categories, for example breakfast, you’ll see an overview page with all the recipe names and the buttons to view each recipe.
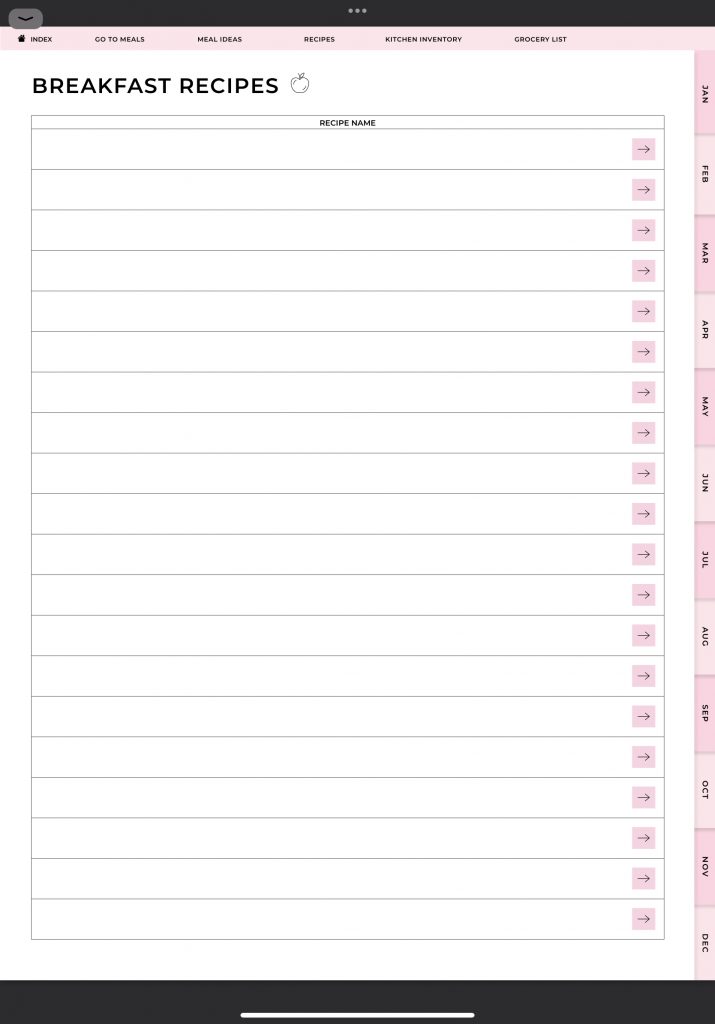
This works as follows. You first add the recipe name to the overview, for example pancakes. You can go to the recipe by tapping the arrow next to the recipe name.
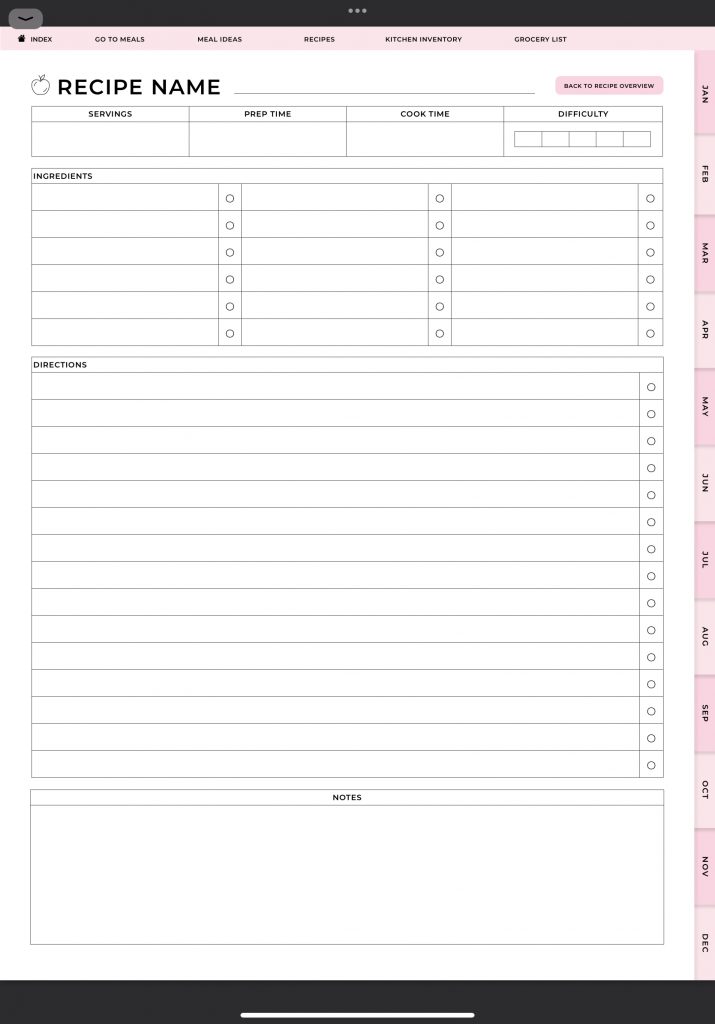
First, you can write down the general information about the recipe such as the name of the recipe, number of servings, preparation time, cook time, and difficulty. You then list all of the required ingredients to make this meal. After that you can write down all of the recipe’s instructions which you can check off once you’re done with them. Finally, you can add some notes about the recipe for next time.
For you to keep track of your kitchen inventory, we have made the kitchen inventory tracker. By using this tracker you’ll be able to see your kitchen inventory at a glance. There are three kitchen inventory lists. A pantry inventory list, a fridge inventory list, and a freezer inventory list.
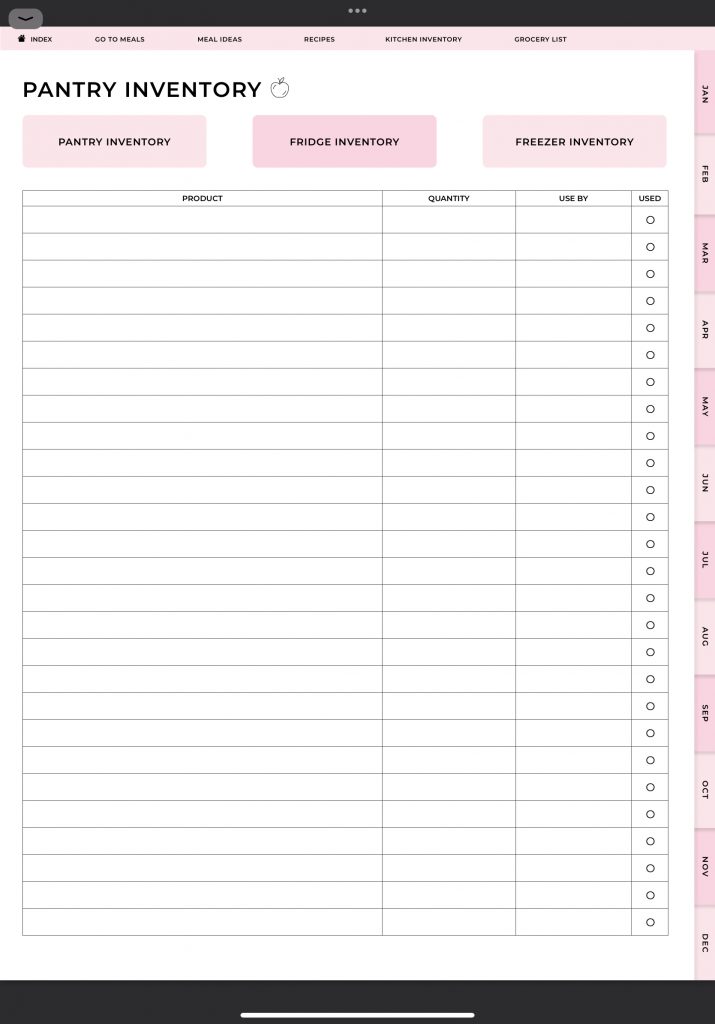
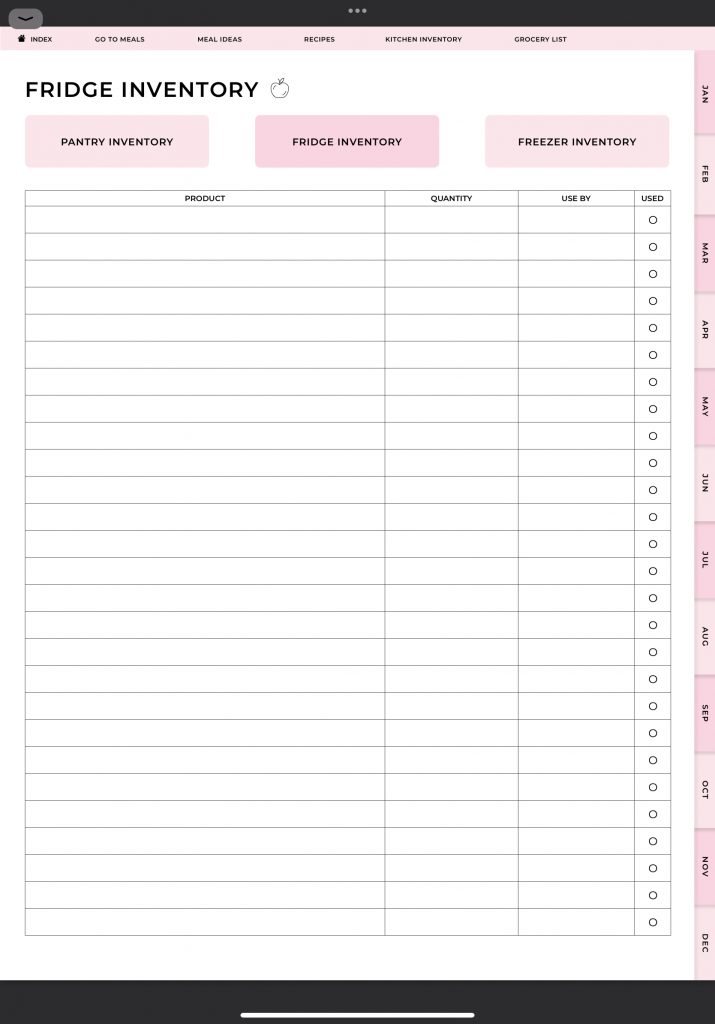
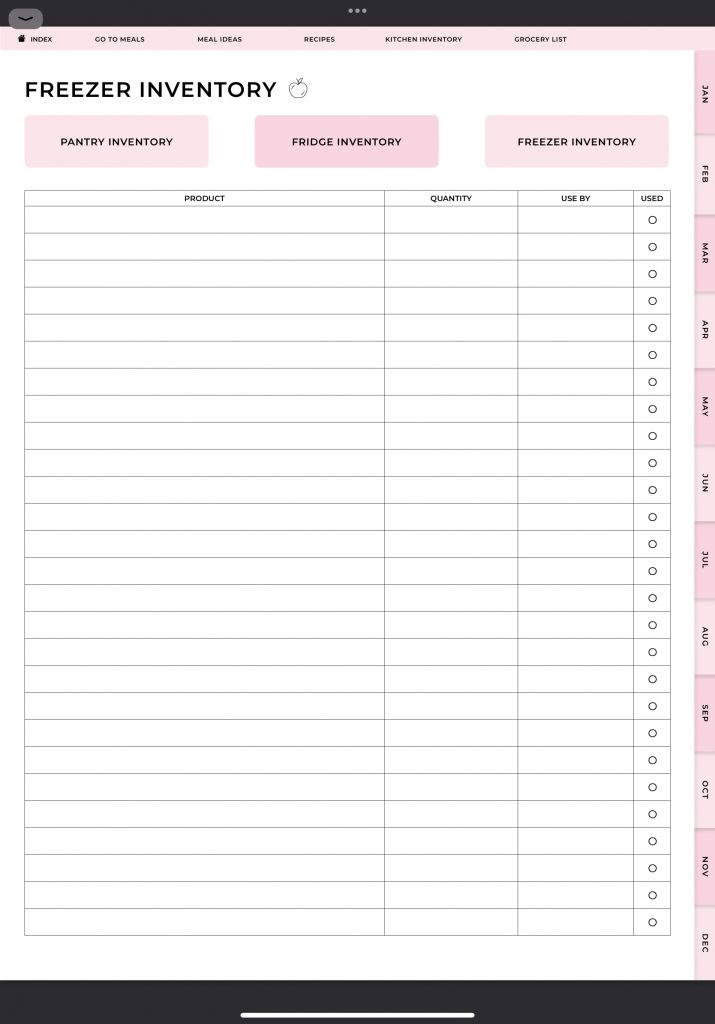
For each product in your inventory you can write down the name of the item, the quantity, and the expiration date. Once you have used the product, you can check it off. This will help you reduce the waste of food and you won’t buy products that you don’t need. This will save you money in the long run!
The last general planner I want to show you is the grocery list.
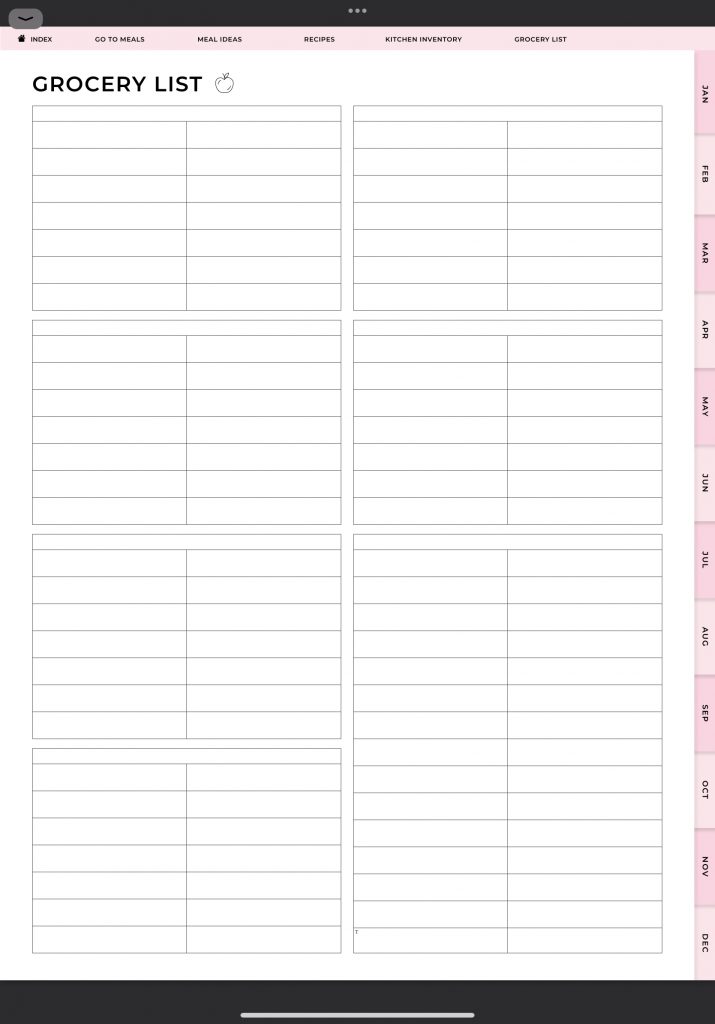
You can use the grocery list when you make your weekly meal plans to list all the ingredients you need to buy. The grocery list is divided into different sections. This will allow you to categorize your groceries the way you like.
I have now shown you all of the general planners. Let’s move on to the monthly, weekly, and daily meal planners.
You can access the monthly meal planners in two ways. The first way is through the index page.
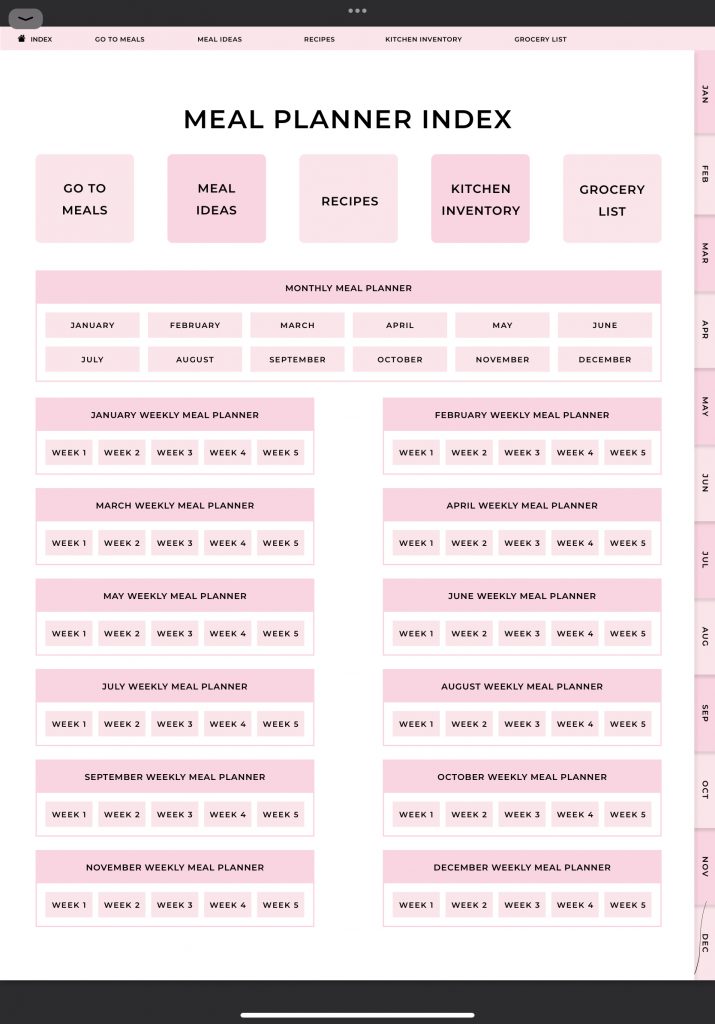
you will find the buttons for each month in the monthly meal planner section. The second way to access the monthly meal planners is through the tabs on the right side of each page of the planner.
In the monthly meal planner you can plan and write down the meals for every day of the month.
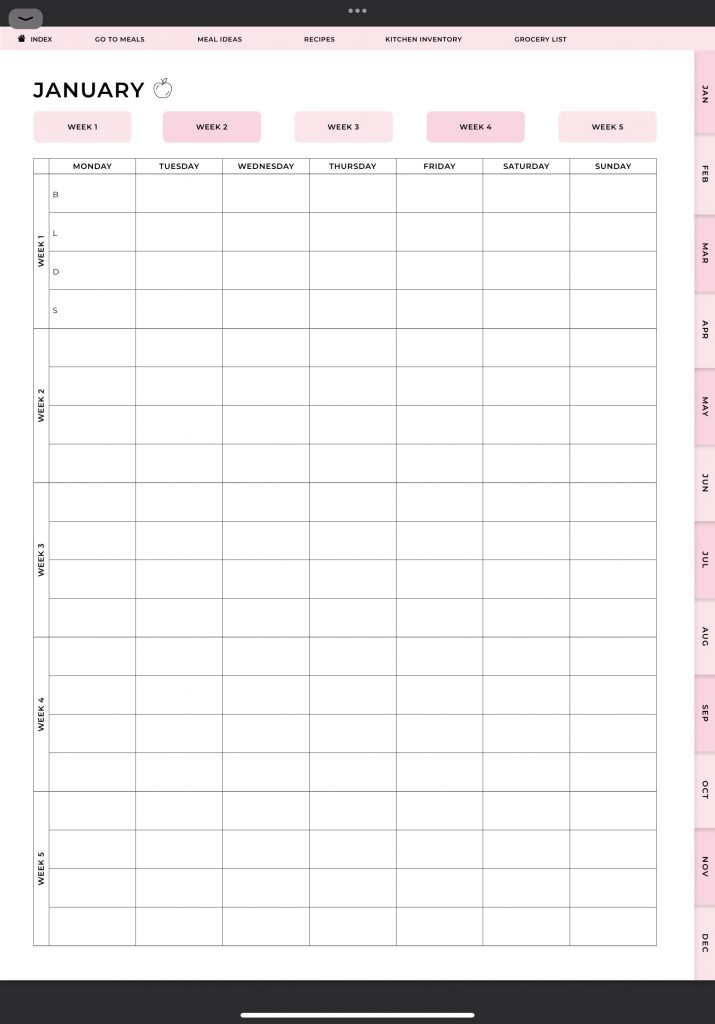
The top row that starts with the letter B is for the breakfast. The next row that starts with the letter L is for lunch. Then D is for dinner and S is for snacks. From the monthly plan you can jump to one of the weekly meal planners by tapping the button for one of the week numbers at the top of the page.
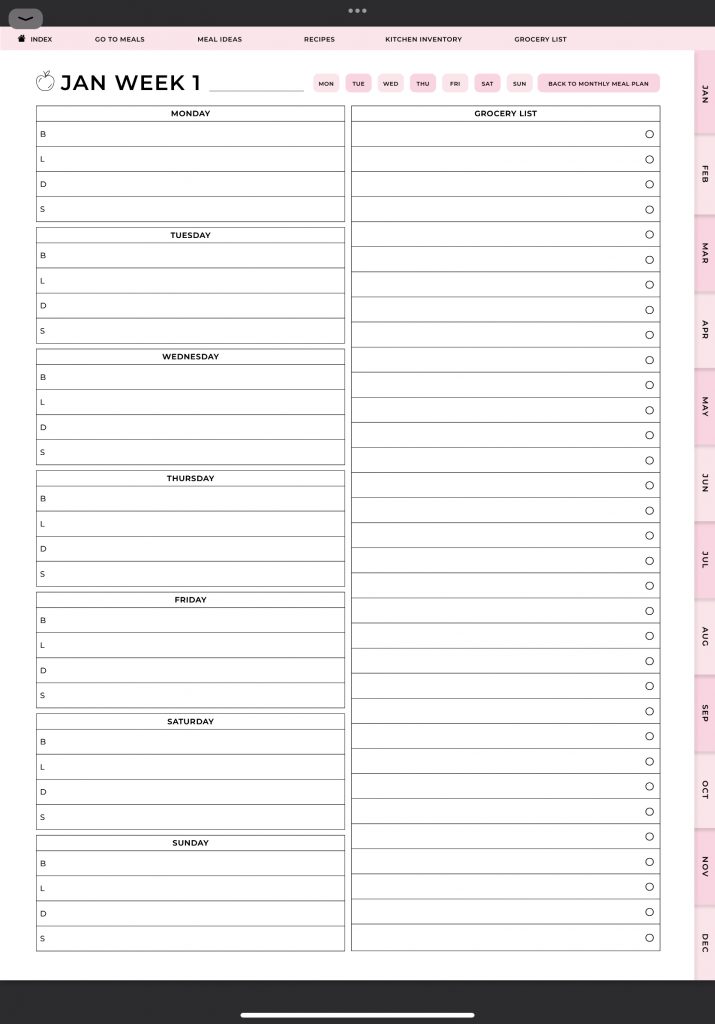
In the weekly meal planner you can plan every meal for each day of the week. You have more space to write for your meals compared to the monthly meal planner should you need that. You can also list all fo the necessary products you need to buy in the grocery list on the right.
From the weekly meal planner you can access the daily meal planners by tapping one of the buttons at the top of the page.
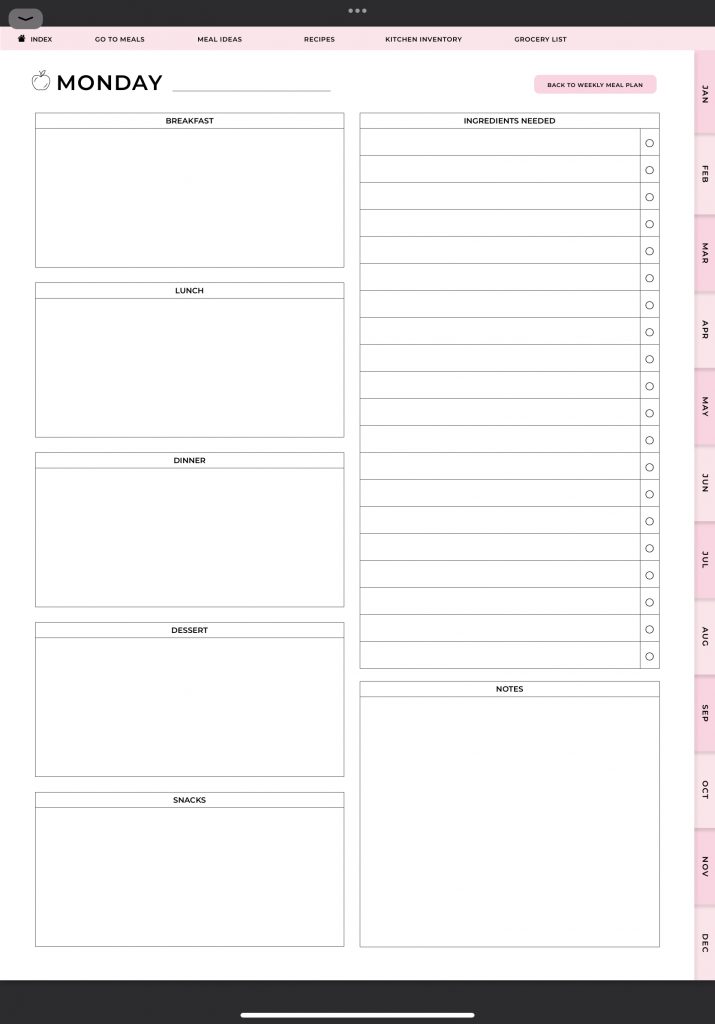
In the daily planner you have plenty of space to write down what you’ll have for breakfast, lunch, dinner, and snacks. You can also write down the ingredients you’ll need to make these meals. This is perfect for if you want to meal prep as well.
That’s all there is when it comes to the digital meal planner! I hope that it’s clear to you what’s included in this planner and how you can use it.
If you have any questions, please leave a comment or send us a message on Etsy!
You can find the digital meal planner here.